Monday, August 24, 2009

A Version of Chicken Adobo

Well, It's been a while since I've posted a recipe. I've been busy on work and although I want to cook a lot, I couldn't find time to do so. For now, I just want to post a very common filipino food: Chicken Adobo. I've used fish sauce here bacause I don't like the color of soy sauce for adobo. However, you can use soy sauce if that's your preference. But I'm pretty sure that it won't be as good as this version of adobo. :) So, let's get started!
Note: I just estimated the ingredients here but it turns our well at least for those who tasted it. :)
Here are the ingredients:
1 kl. chicken (adobo cut)
1-2 bulbs minced garlic (much more, the better and you need to make them golder brown)
1 small bottle vinegar (don't consume the whole bottle if you don't want it that sour. Again, it should be according to your liking.)
1/2-3/4 tsp. black pepper
1/2-3/4 tsp. salt
1-2 pcs. laurel leaves
2 tbsp. fish sauce (patis)
5 tbsp. cooking oil

1. Wash the chicken thoroughly and drain them afterwards
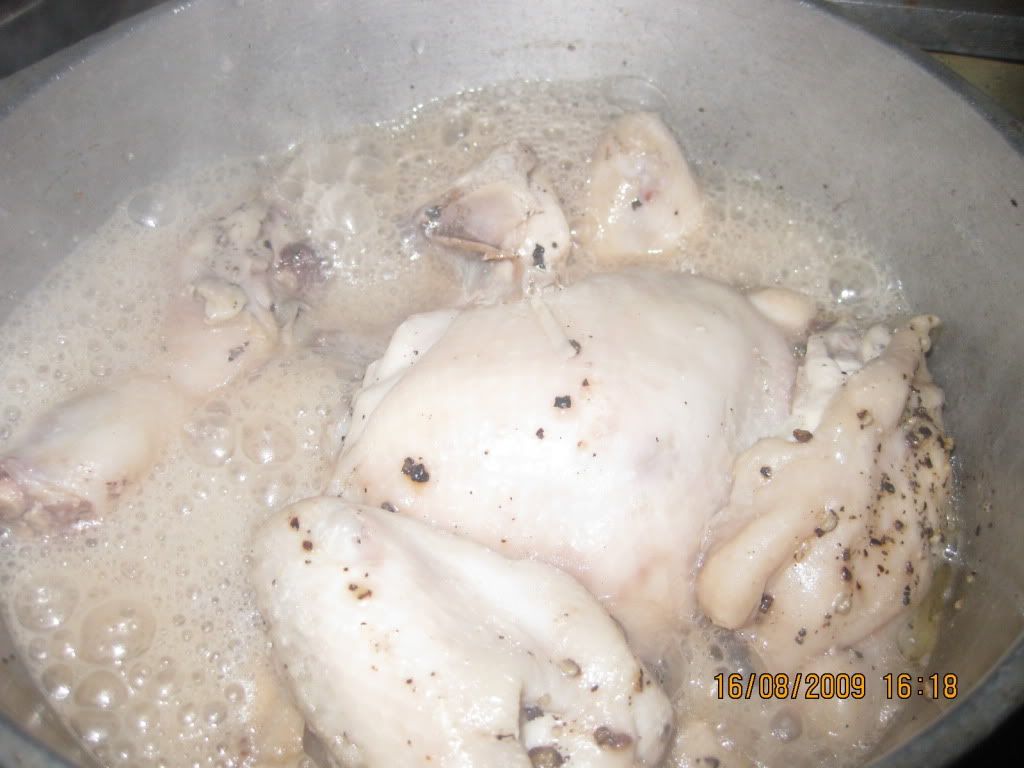
2. Place the washed chicken, minced garlic, salt, pepper and laurel leaves on a pot.Mix them altogether.
Photobucket
3. Pour in the vinegar and leave them for about 15 minutes.
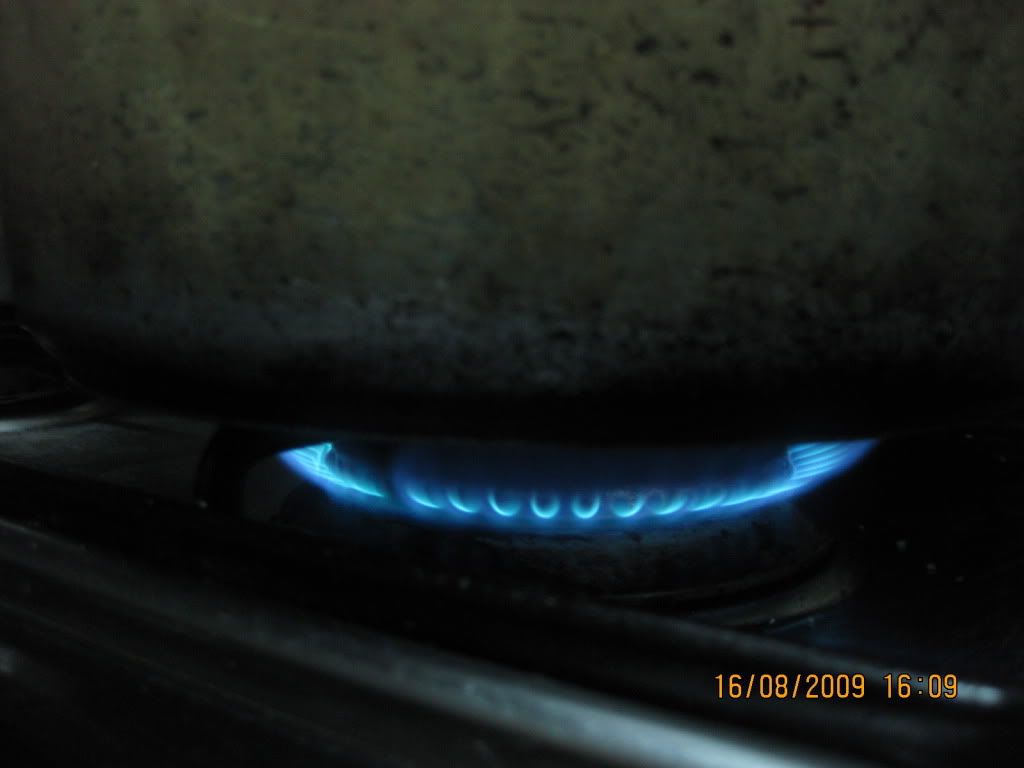
4. Now, turn on the stove into medium heat and let them boil for about 15-30 minutes.
Photobucket
Photobucket
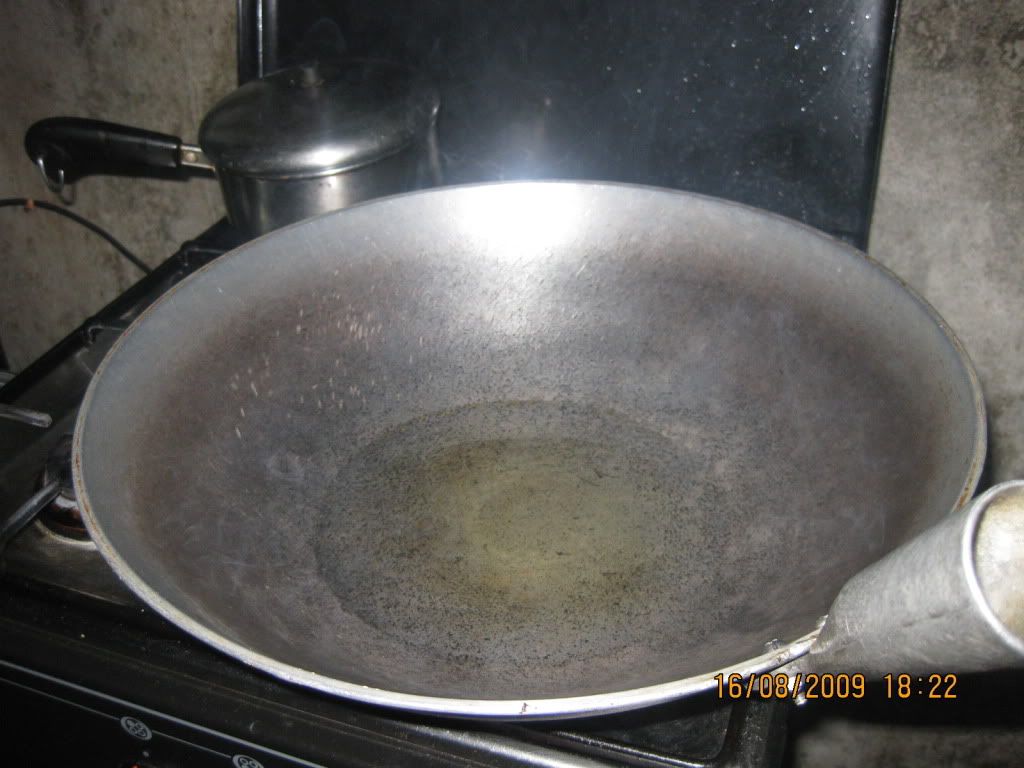
5. On a separate pan, pre-heat the cooking oil over medium heat.
Photobucket
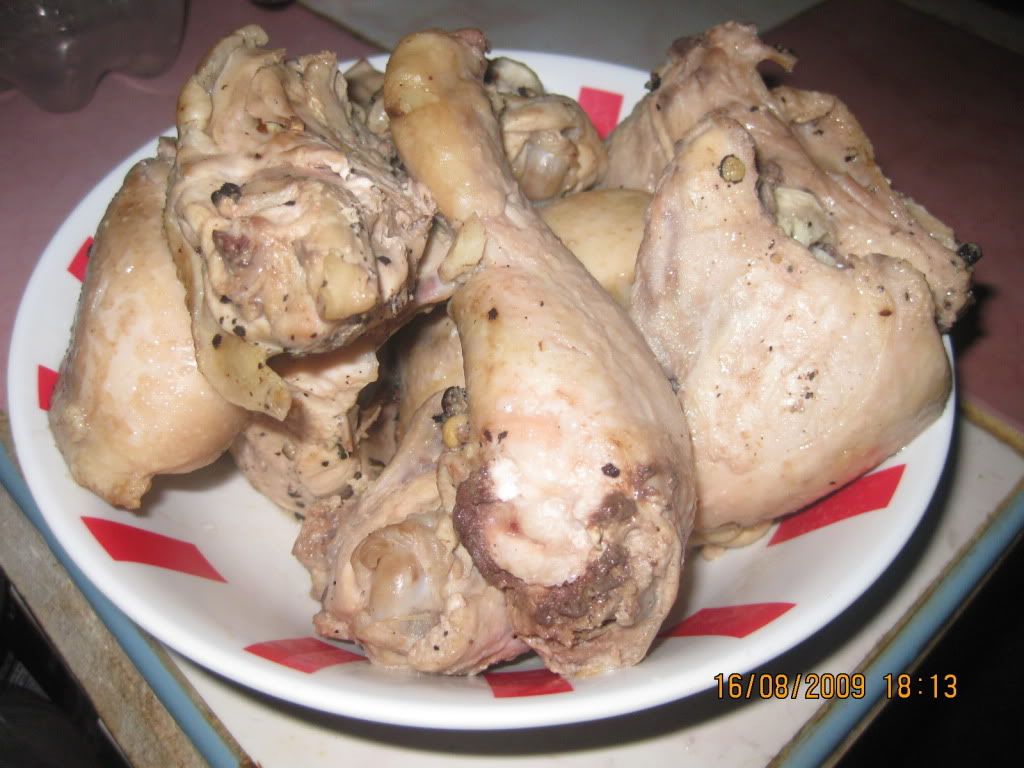
6. Drain the chicken and the minced garlic from the liquid. Set the liquid aside first.
Photobucket
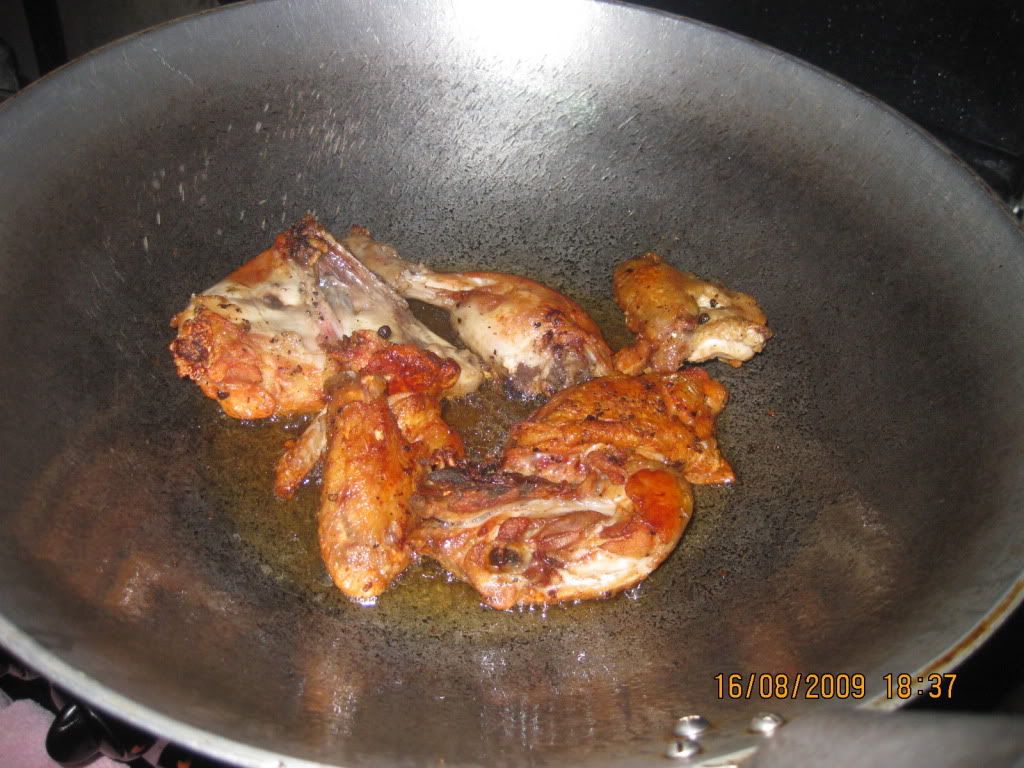
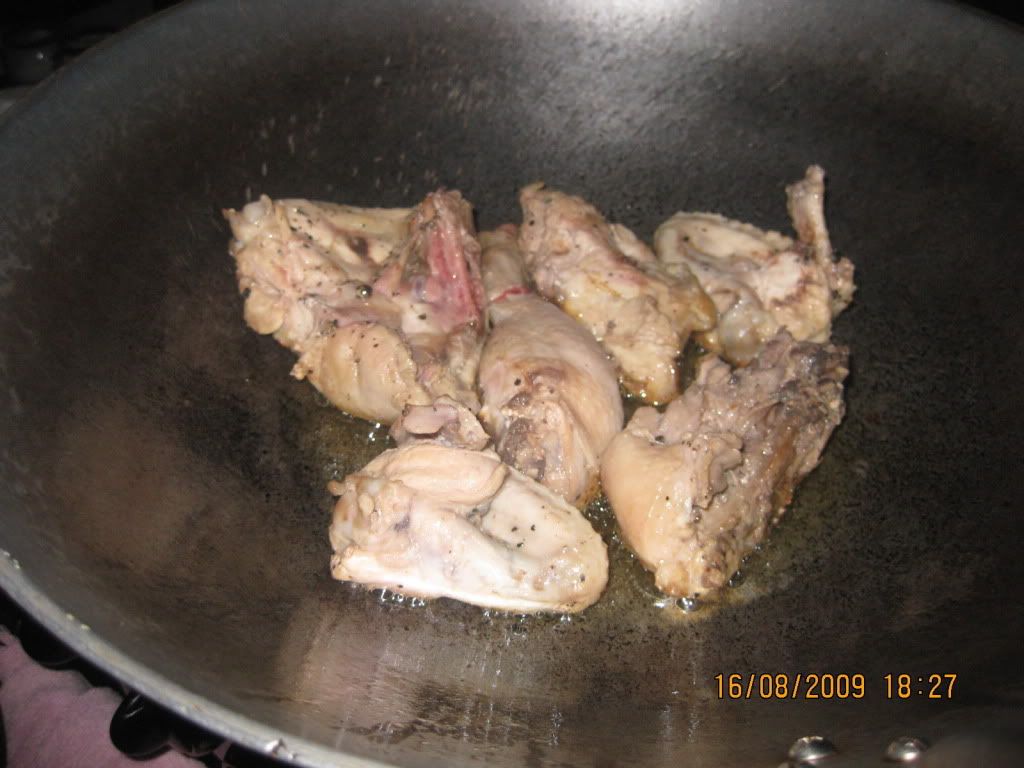
7. When the oil is hot enough for frying, you may start to fry all the chicken and the minced garlic.
Photobucket
Photobucket
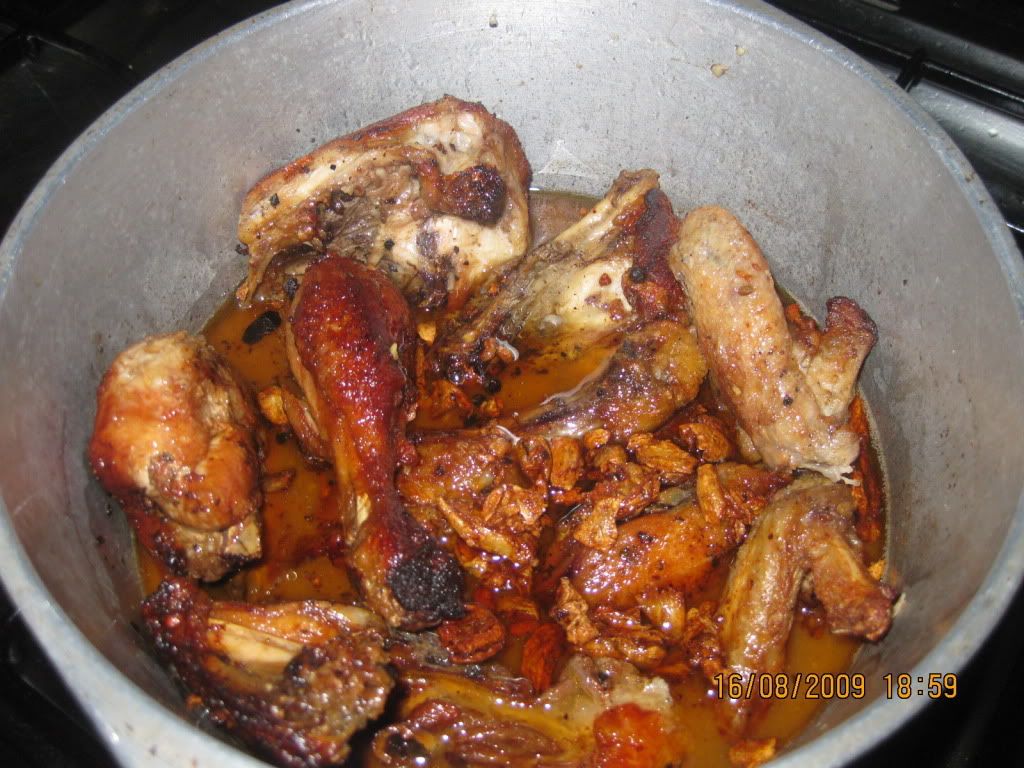
8. After all the chicken and minced garlic were fried to golder brown, put them back to the liquid mixture.
Photobucket
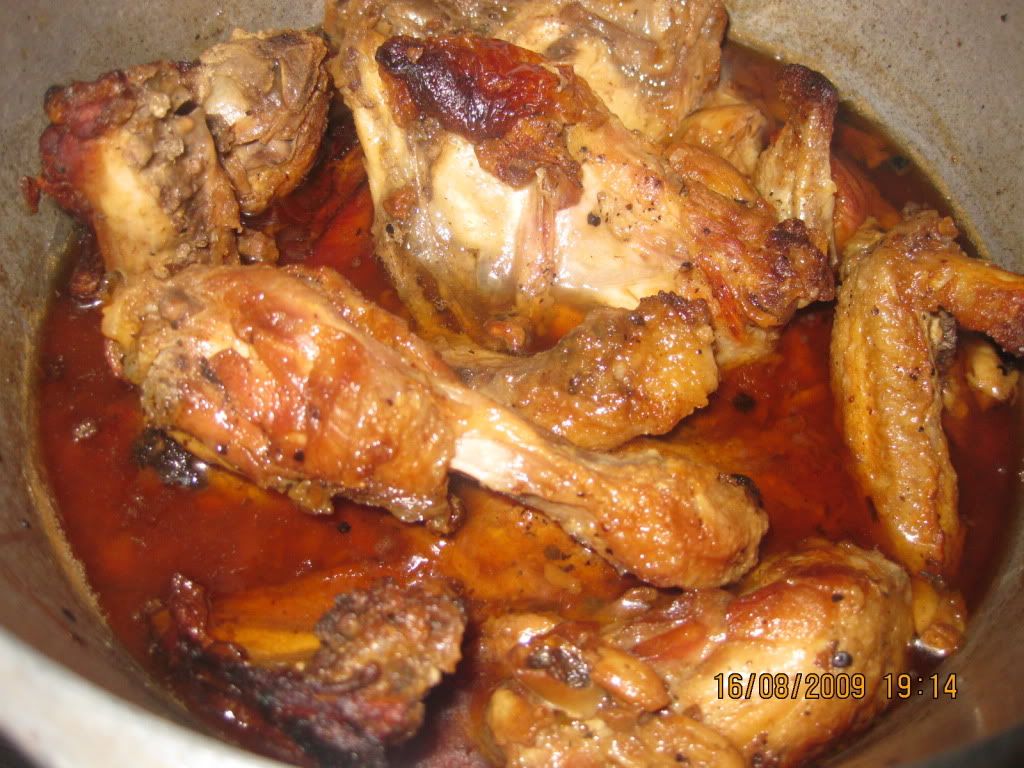
9. Again, bring it to boil and pour in the fish sauce (patis). Let it boil for about 5 minutes over low heat.
Photobucket
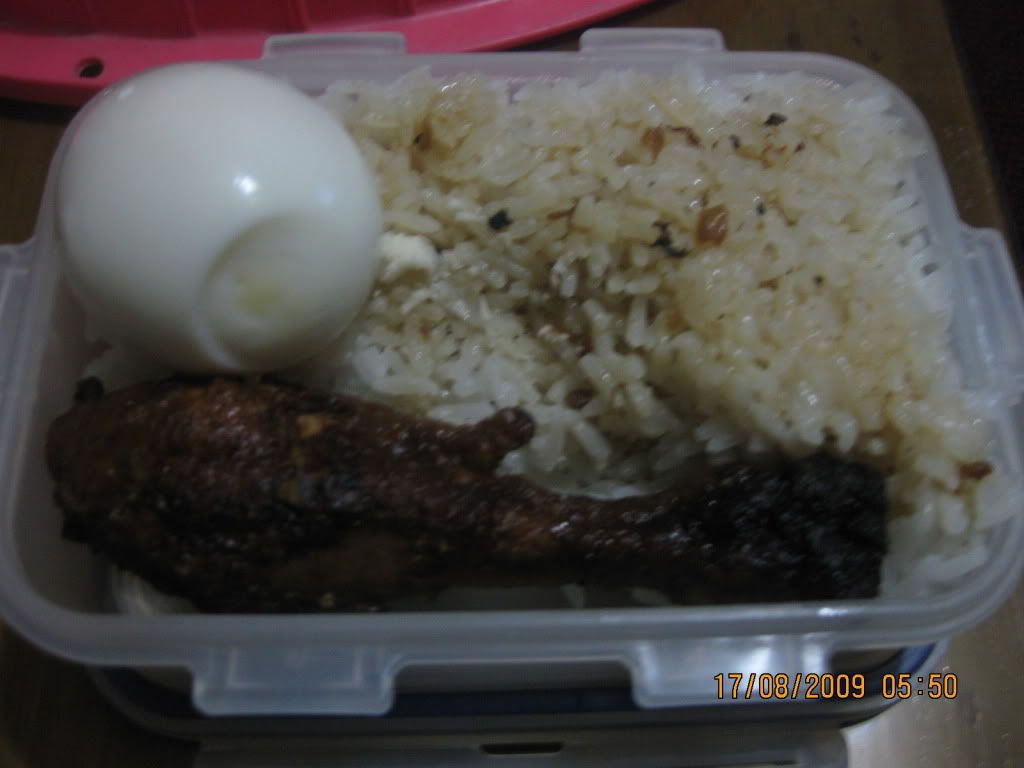
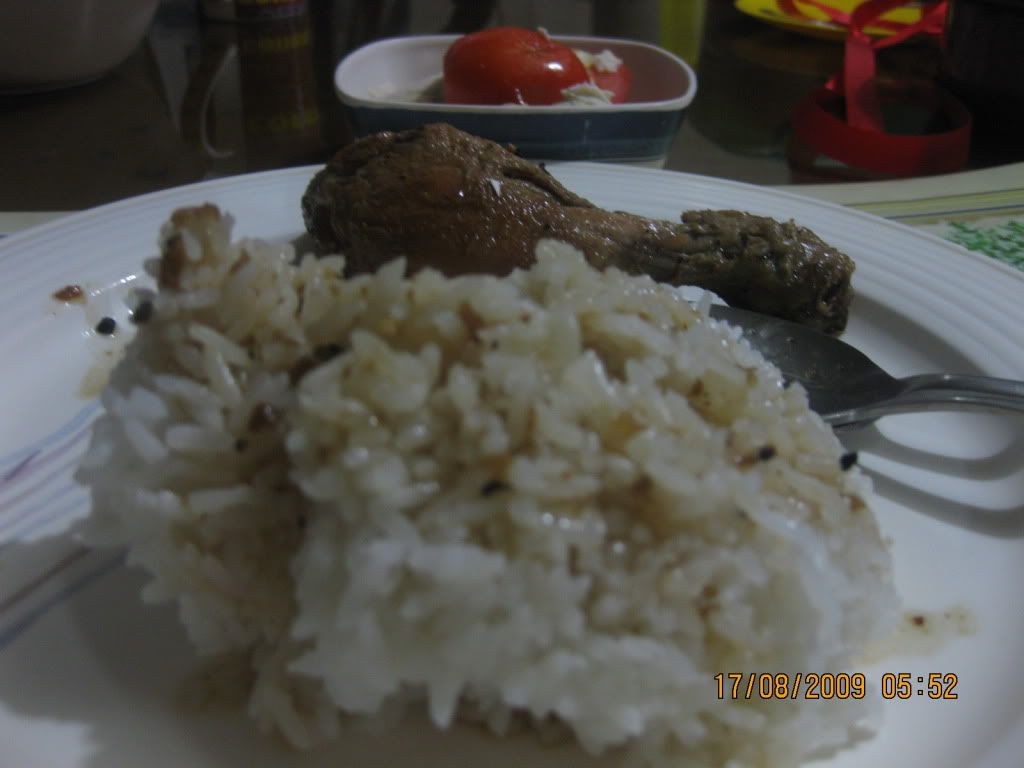
10. Best served with hot steamy rice and hard-boiled egg or red egg with tomatoes.
Photobucket
More pictures..
Photobucket
Photobucket

Saturday, June 13, 2009

A Version of Baked Macaroni

Baked Macaroni, from my understanding, is simply baking a cooked elbow macaroni mixed with pasta sauce. Regarding the pasta sauce, it's just anything from red sauce to white sauce. You can also add any ingredients you would like to from ground beef to flaked tuna. Perhaps, you could use any of your leftover foods in the fridge such as hotdogs or hams. For this recipe, I’ve just recycled the Parmesan with Macaroni Sauce and Chicken Cordon Bleu leftover and used it in the pasta sauce. Since the leftover sauce has a strong taste of Parmesan for it to be a pasta sauce, I’ve decided to add some spaghetti sauce to add some tingling taste of tomato. I find the taste of the pasta sauce I’ve created to be balanced by adding a spaghetti sauce. We’ll, let me now show you a unique version of baked macaroni I've made from leftover sauce. Here are the ingredients I've used and procedures I've done(Thanks to my sister, Nica, for taking the pictures of the procedure and of herself :)):
  • Leftover Parmesan with Macaroni Sauce. (Approximately 250mL.)
  • 250mL. Spaghetti Sauce
  • 650g. Elbow Macaroni (We've had 250g. and we've bought a 400g. from our local sari-sari store), cooked based on the instruction in the package.
  • 1 stem of Parsley, finely chopped.
  • Leftover Chicken Cordon Bleu (Approximately 150g.), chopped.
  • 3 tbps. Vegetable Oil
  • 2 tbsp. Salt
  • 500g. cheddar cheese
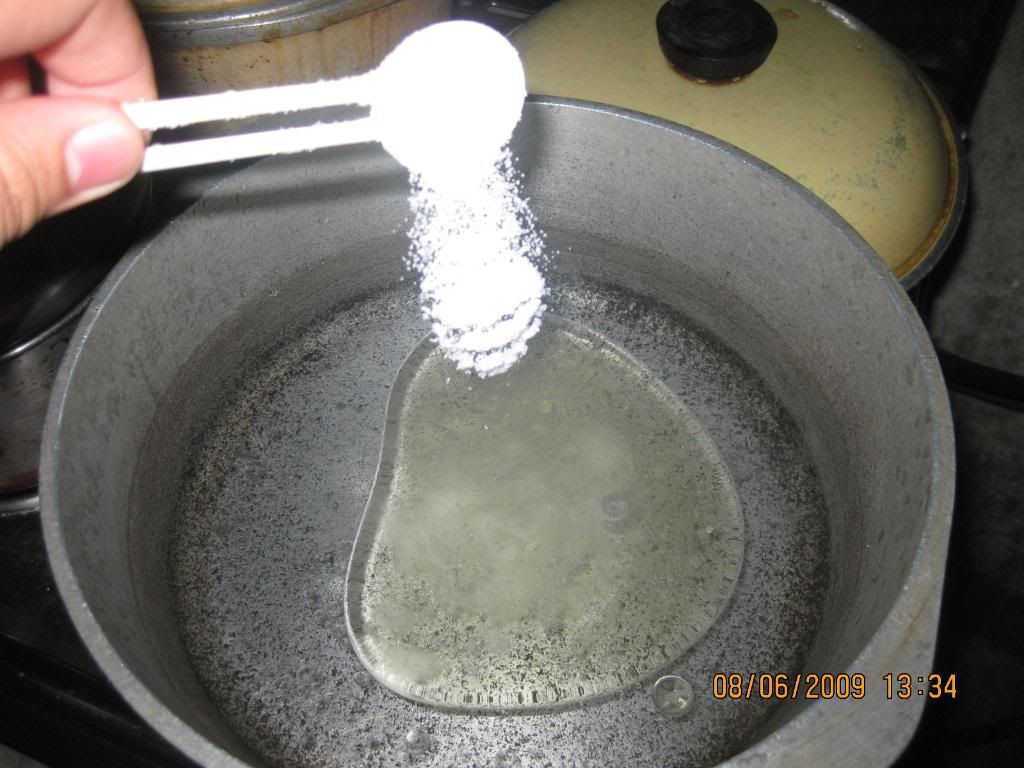
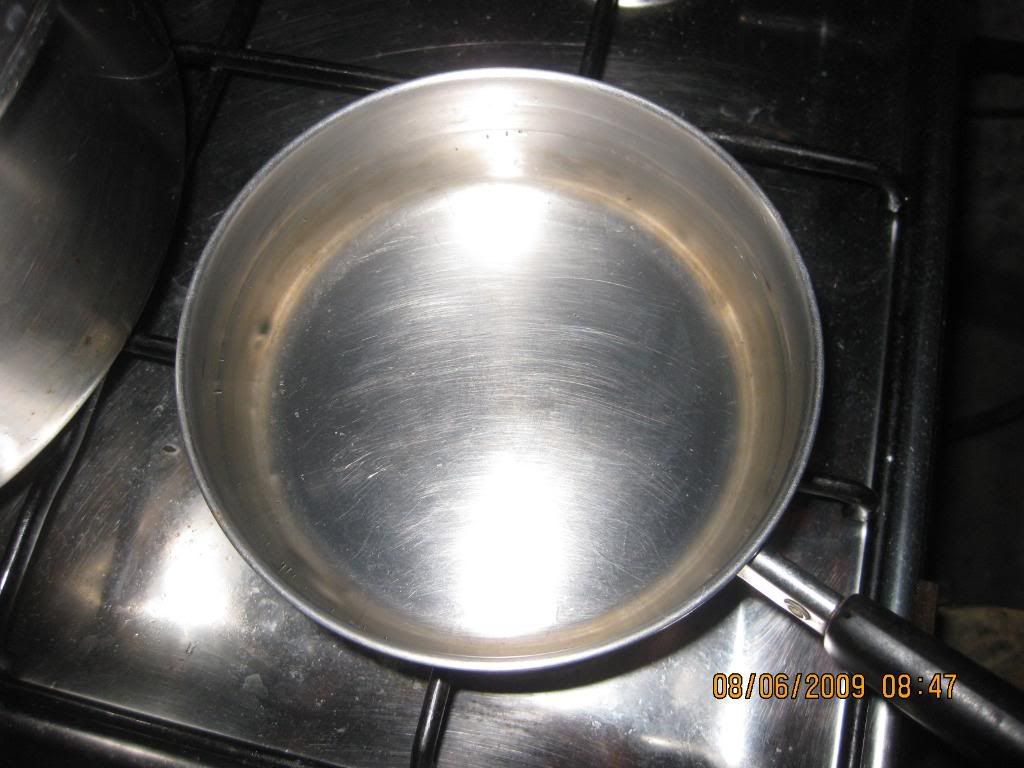
  1. Boil 1L. of water on a pot. Add the vegetable oil and the salt.
    Photobucket
  2. While we're waiting the water to boil, We can now prepare the pasta sauce.
    Photobucket
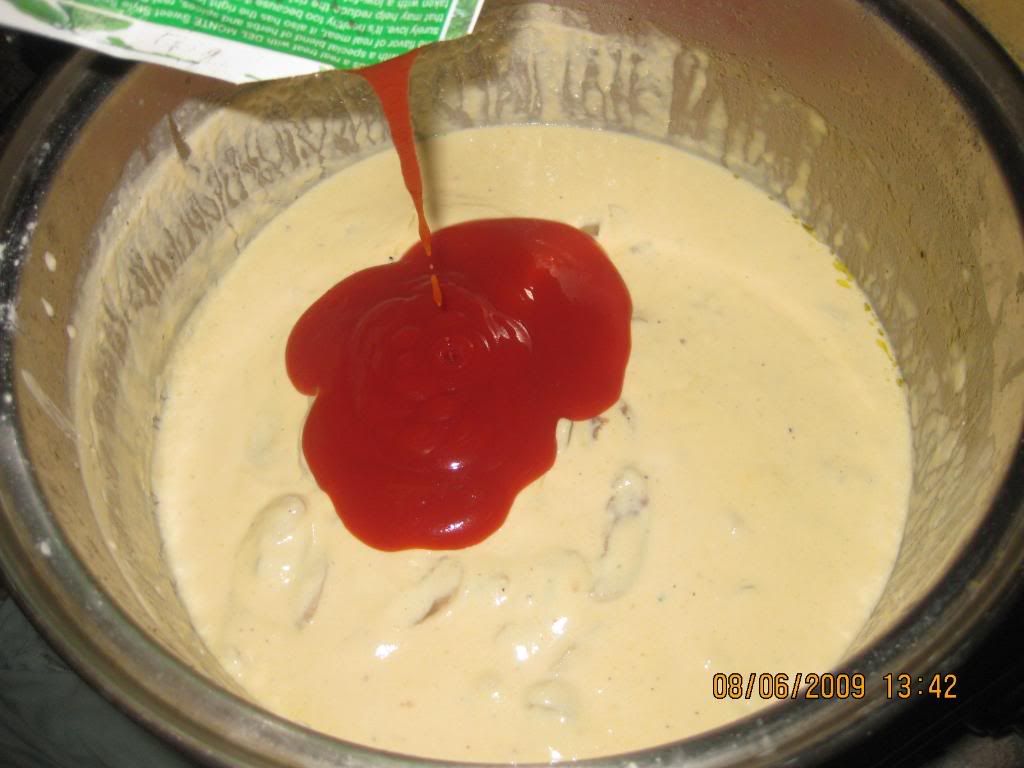
  3. Simmer the leftover sauce over medium heat while adding the spaghetti sauce and parsley.
    Photobucket
    Photobucket
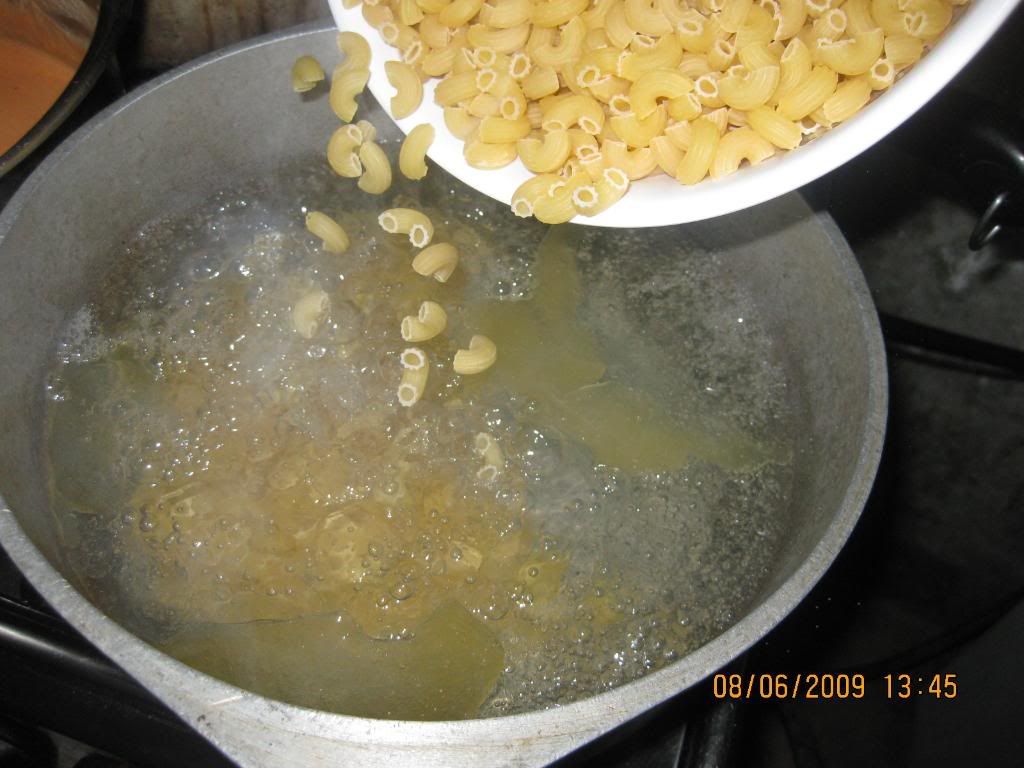
  4. Oh! The water is boiling. We can now add the elbow macaroni and stir constantly to avoid sticking at the bottom of the pot.
    Photobucket
  5. At this very moment, you are stirring both the pasta sauce and the elbow macaroni. :)
    PhotobucketPhotobucket
  6. Turn off the heat on pasta sauce while you're about to check if the elbow macaroni is already done.
    Photobucket
  7. Drain the water and wash it with cold water.
    Photobucket
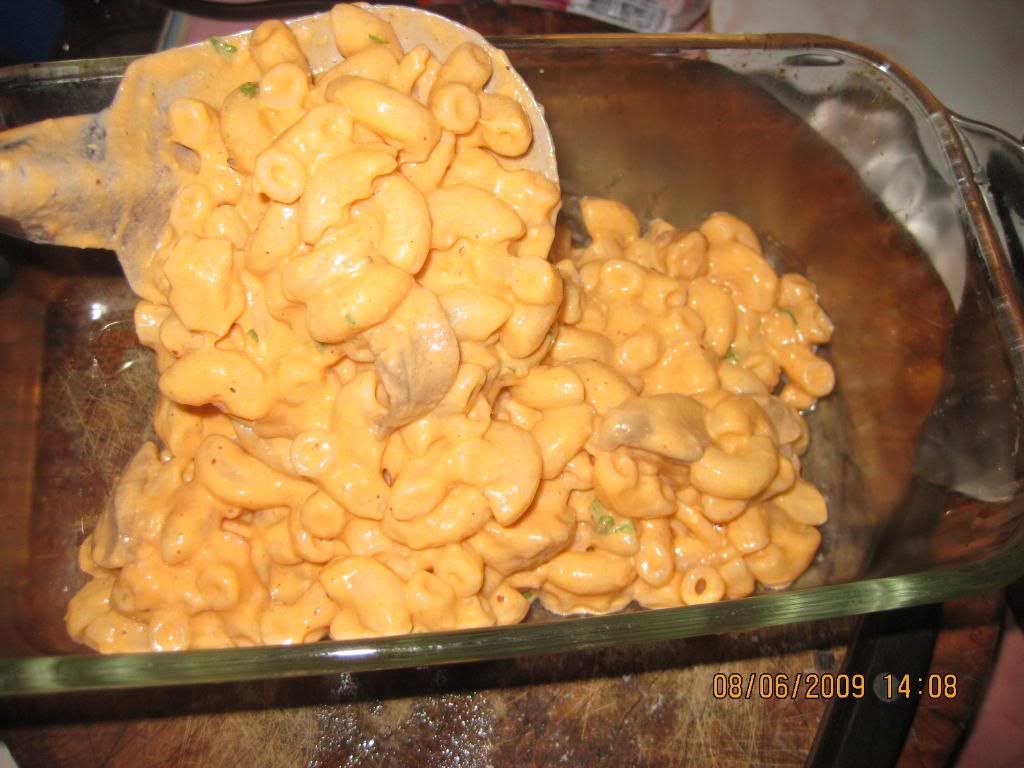
  8. Now, mix the pasta sauce and the elbow macaroni.
    Photobucket
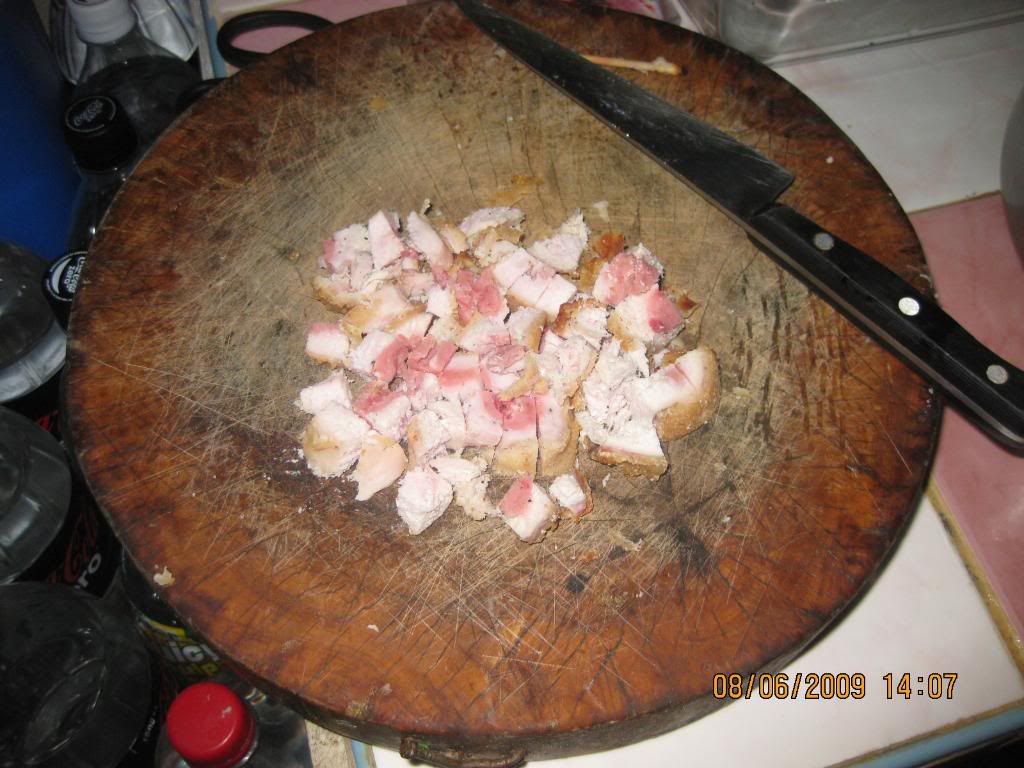
  9. Mix the chopped Chicken Cordon Bleu into the elbow macaroni and pasta sauce mixture.
    Photobucket
    Photobucket
  10. Place it on a Pyrex container or on an aluminum metal container used for making leche flan :)
    Photobucket
  11. Top it with cheddar cheese.
    Photobucket
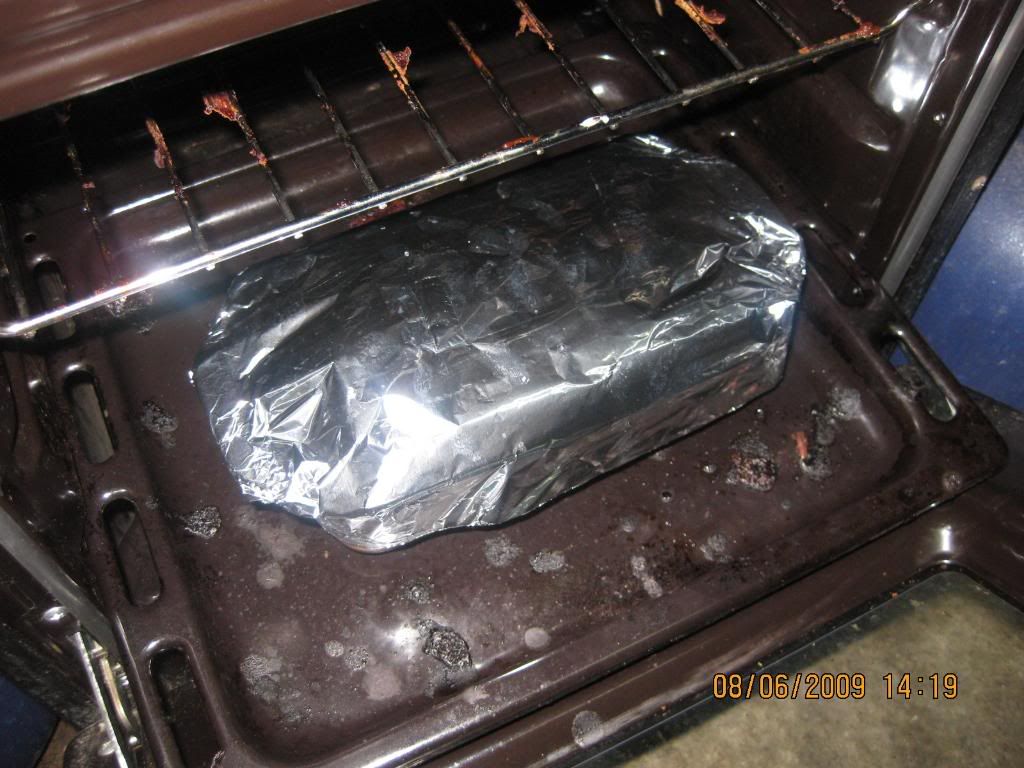
  12. Cover it with a aluminum foil. If your Pyrex has a cover, use it.
    Photobucket
  13. Cook it on a pre-heat oven at 250 degree Celcius for 20-30 minutes or until the cheese above turns brown.
    Photobucket
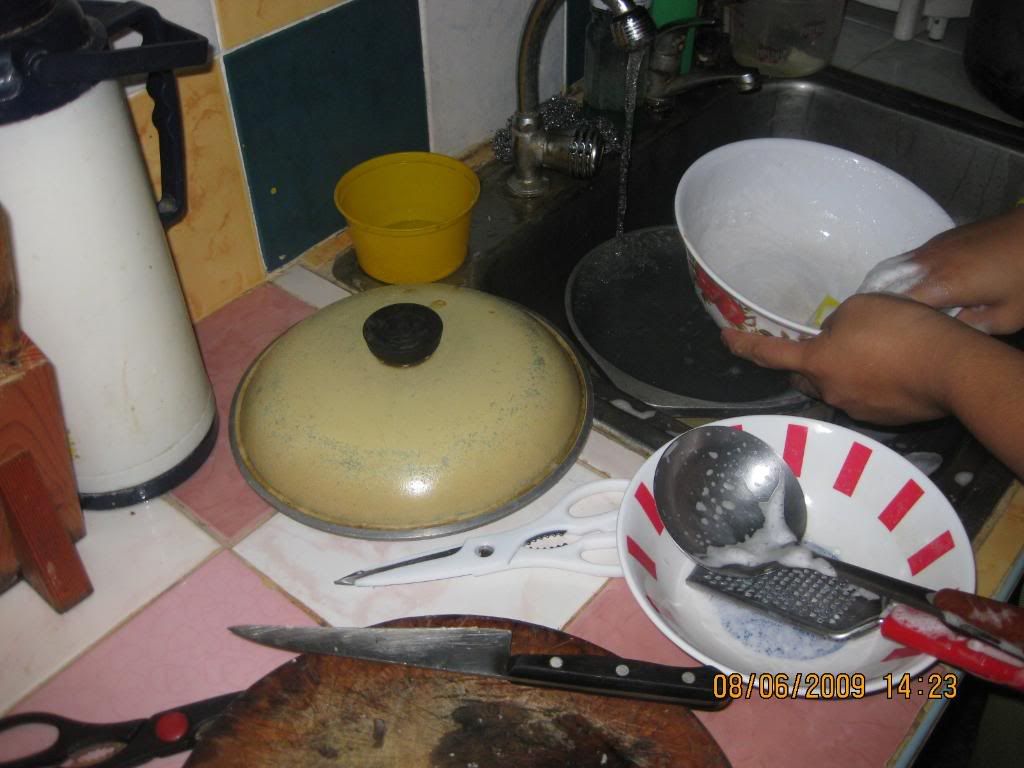
  14. While you're waiting for your baked macaroni to be done, you need to wash all the kitchen utensils you've used.:)
    Photobucket
  15. Best served with Garlic Bread.
    Photobucket
    Photobucket


I'll post the cost of all the ingredients next time. I forgot to collate them. :) For now, create your own baked macaroni and enjoy!

Monday, June 8, 2009

Classical Instant Pancit Canton

For filipinoes, who wouldn't have known or eaten instant pancit canton? Kindly raise your hand. :P Of course, most of us filipinoes enjoy eating a hot bowl of pancit canton. Whether you will have it on breakfast or even merienda. While I'm writing the Dirty Rice recipe, I felt my stomach is grumbling. So I picked up the digicam and start taking pictures of my breakfast for today: Instant Pancit Canton.


  1. First you need to boil water over medium heat.
    Photobucket
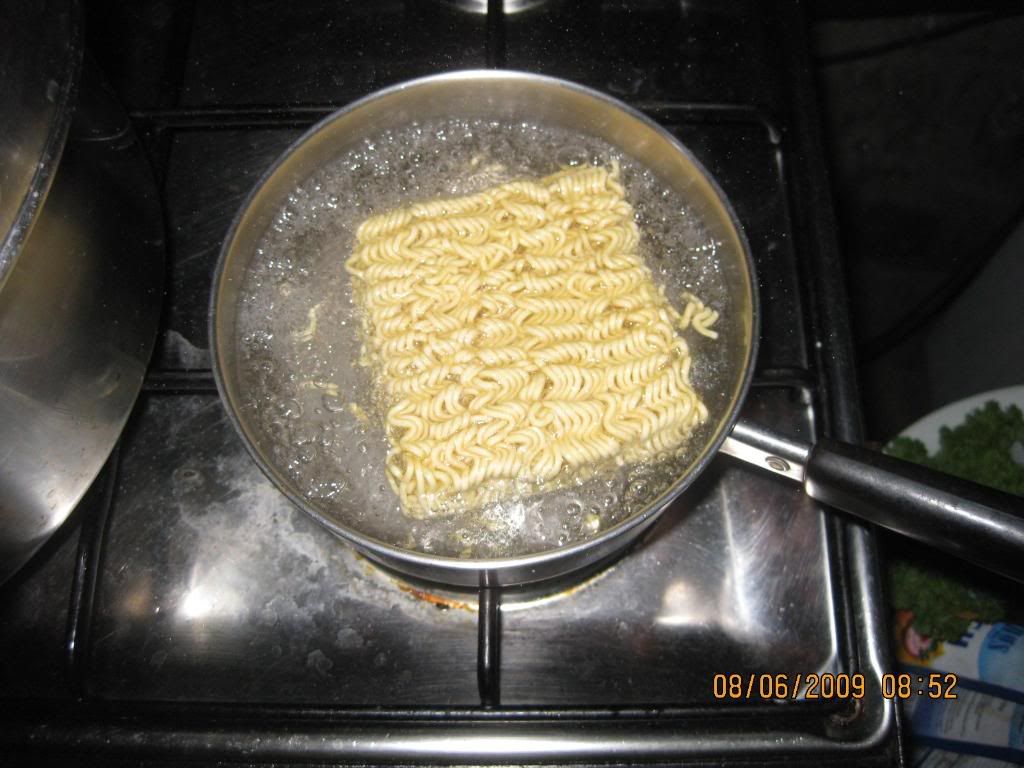
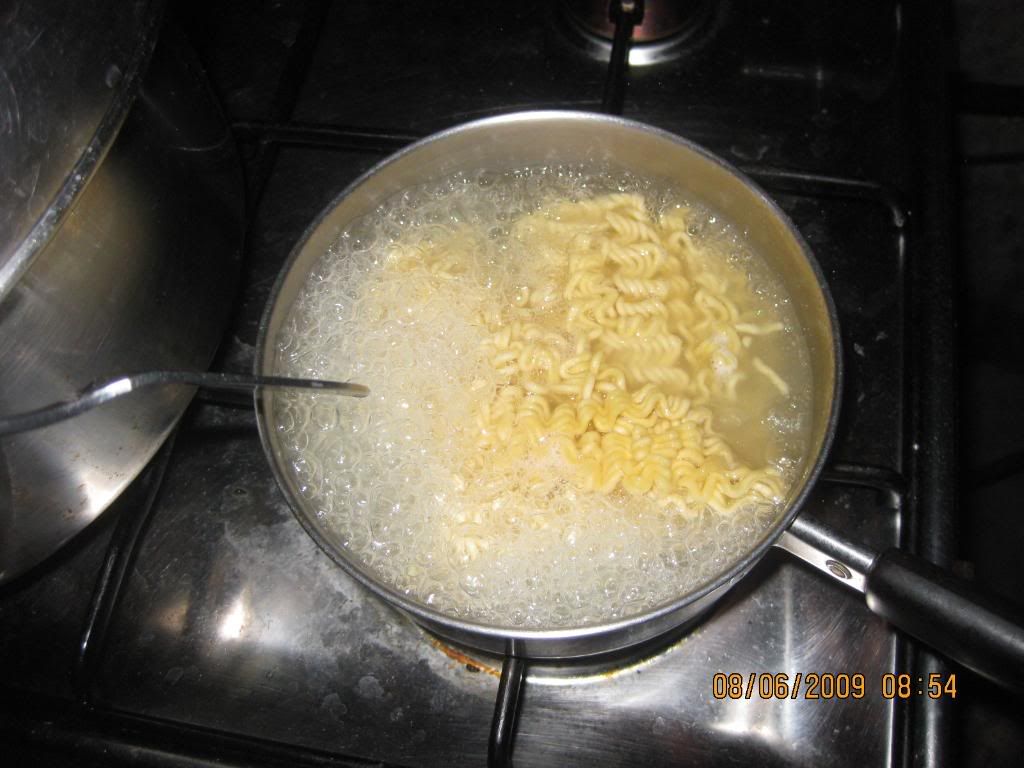
  2. Place the noodles on the boiling water.
    Photobucket
  3. Mix the powder and the liquid seasonings on a bowl.
    Photobucket
  4. Stir the noodles while you're boiling it to cook it evenly.
    Photobucket
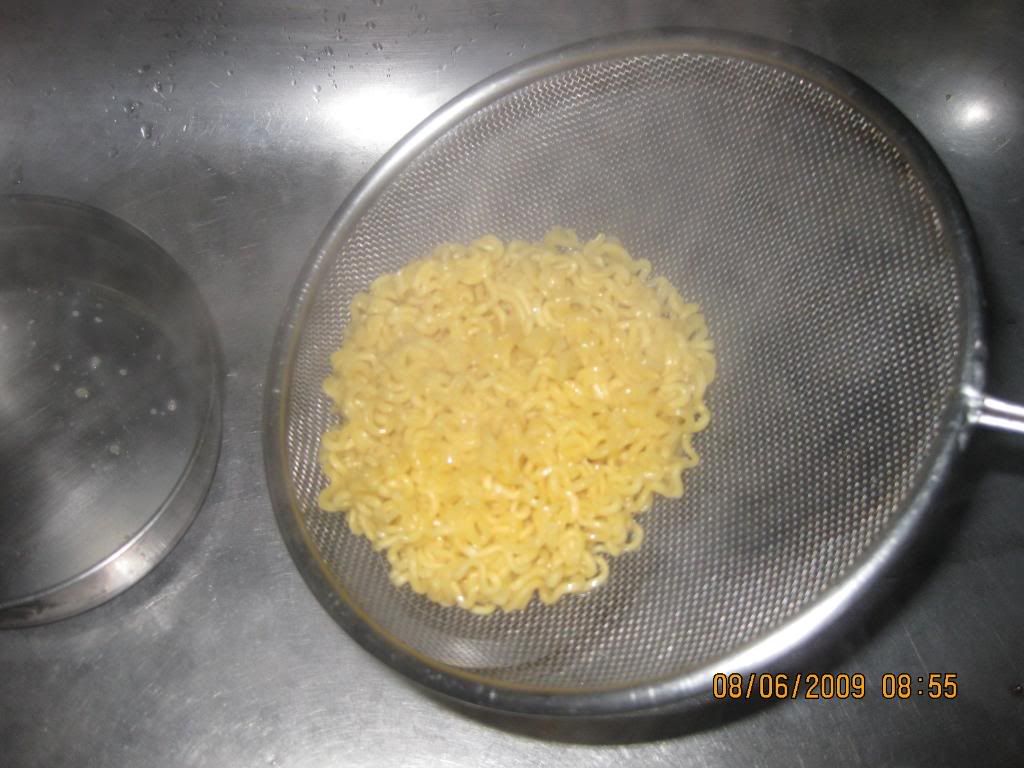
  5. After it became loose and tender, drain it using a strainer.
    Photobucket
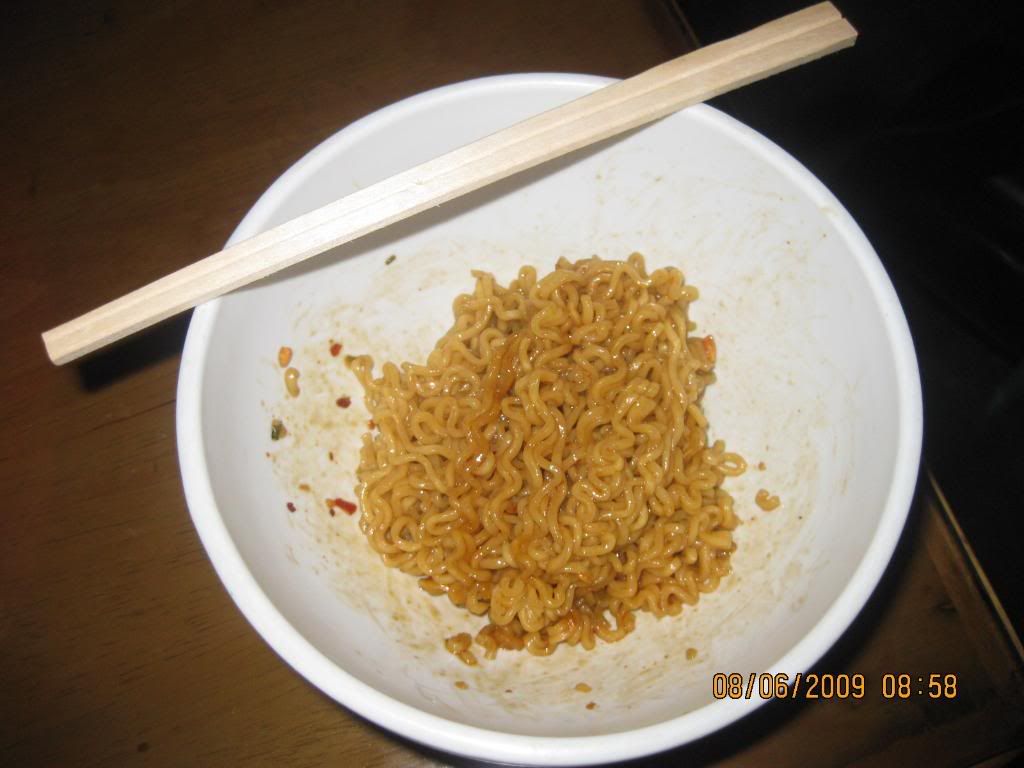
  6. Combine it with the other ingredients. Mix them altogether. Use a pair of chopstick if you want to. :)
    Photobucket

Things I've considered:

Make sure that you won't overcooked the noodles. Or else, It would become like lomi. :D

Actual Expense:

  • 1 Lucky Me Sweet and Spicy Instant Pancit Canton (Php7.50)

Total Actual Price:

Php7.50

Dirty Rice

My inspiration for creating this blog is Michael Chu and his site. After I've seen his mouth-watering recipes on his site, I can't wait to try one of them. I've just tweaked most of the ingredients because I have a large family of 6 members. So here it is, Dirty Rice from Michael Chu's site.

Here are the Ingredients I've prepared:


  • 2 tablespoon vegetable oil
  • 334g. of chicken gizzards, chopped
    Photobucket
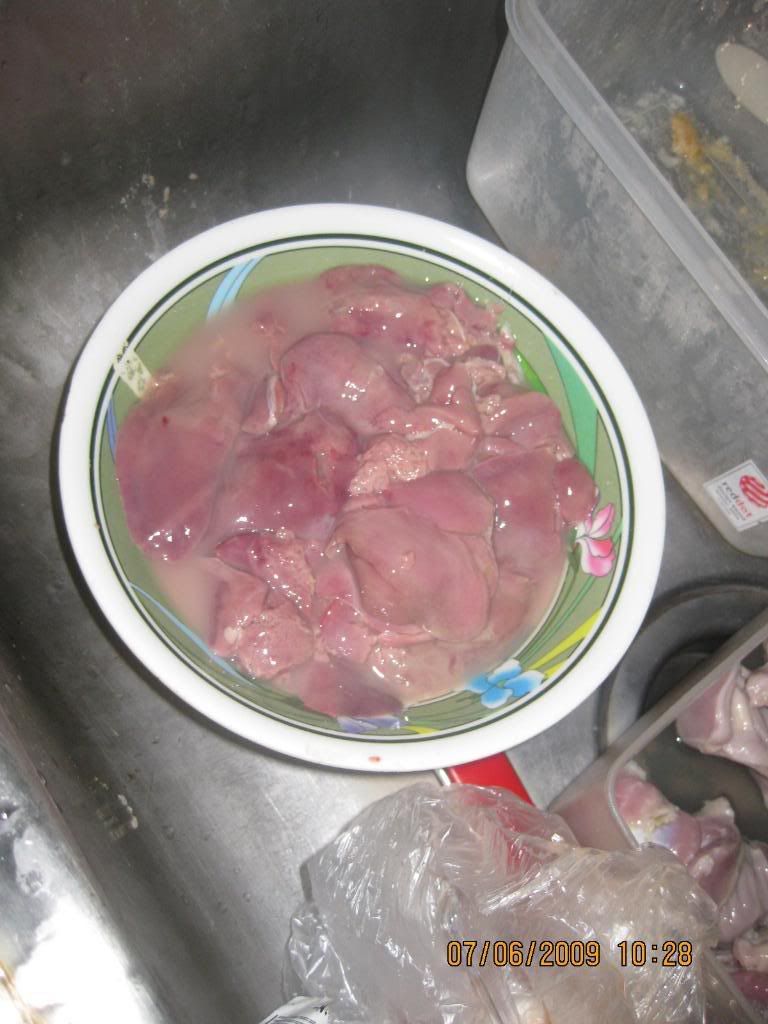
  • 426g. of chicken livers, chopped
    Photobucket
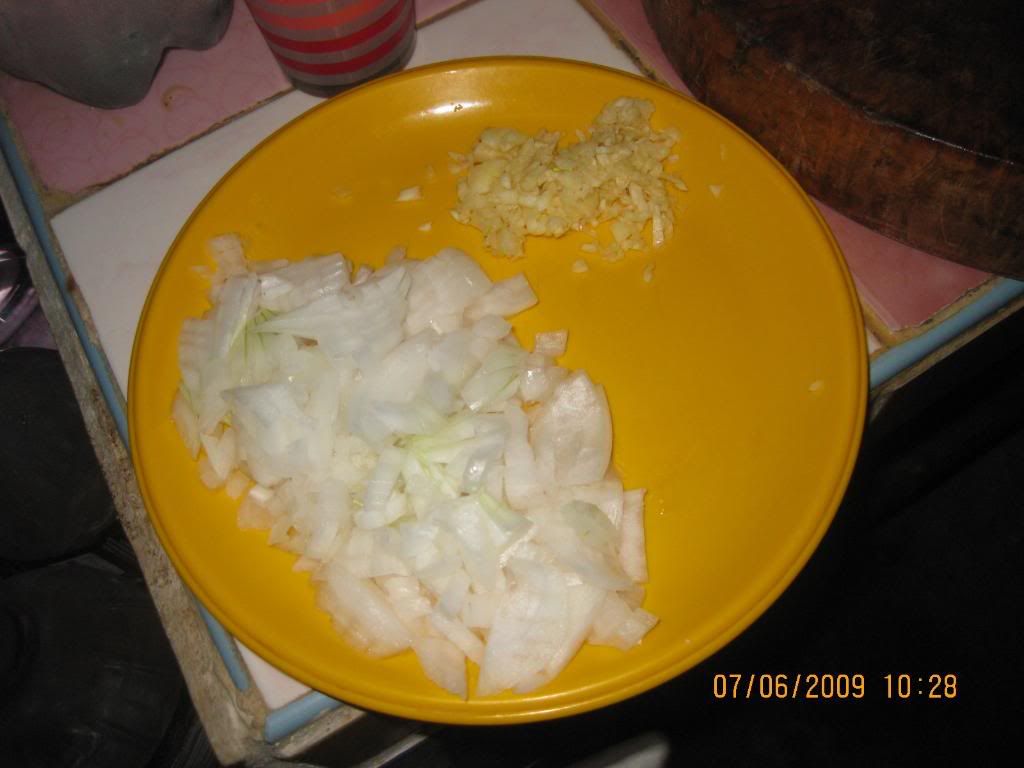
  • 1 medium white onion, chopped
    Photobucket
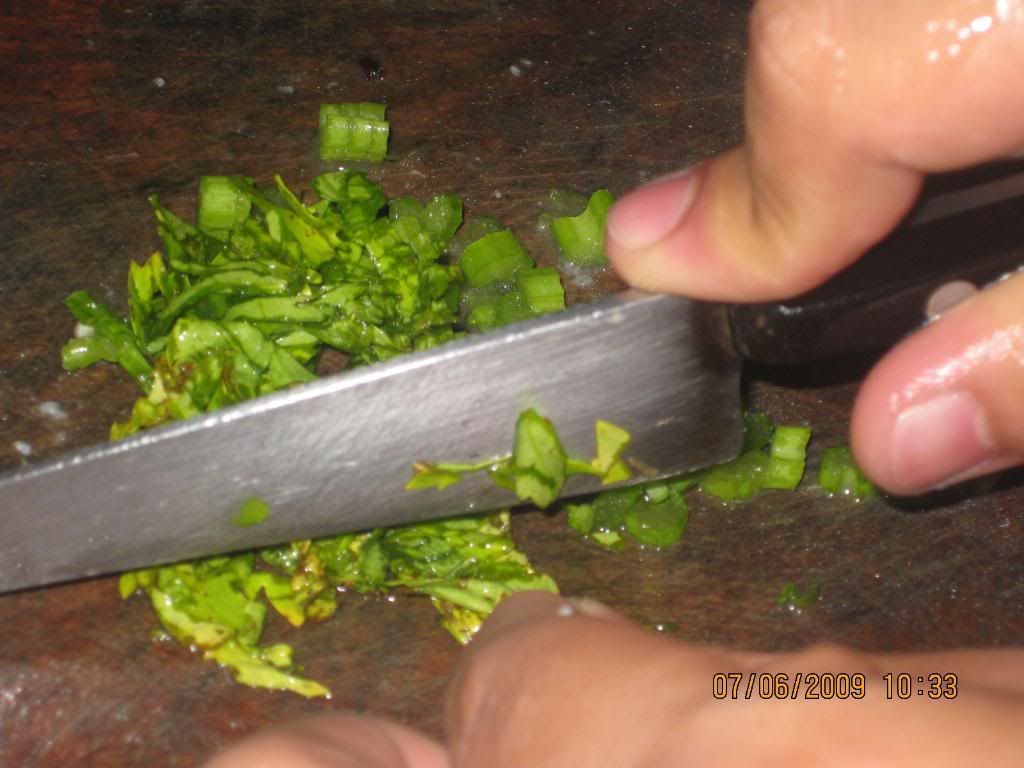
  • 1 celery rib, chopped
    Photobucket
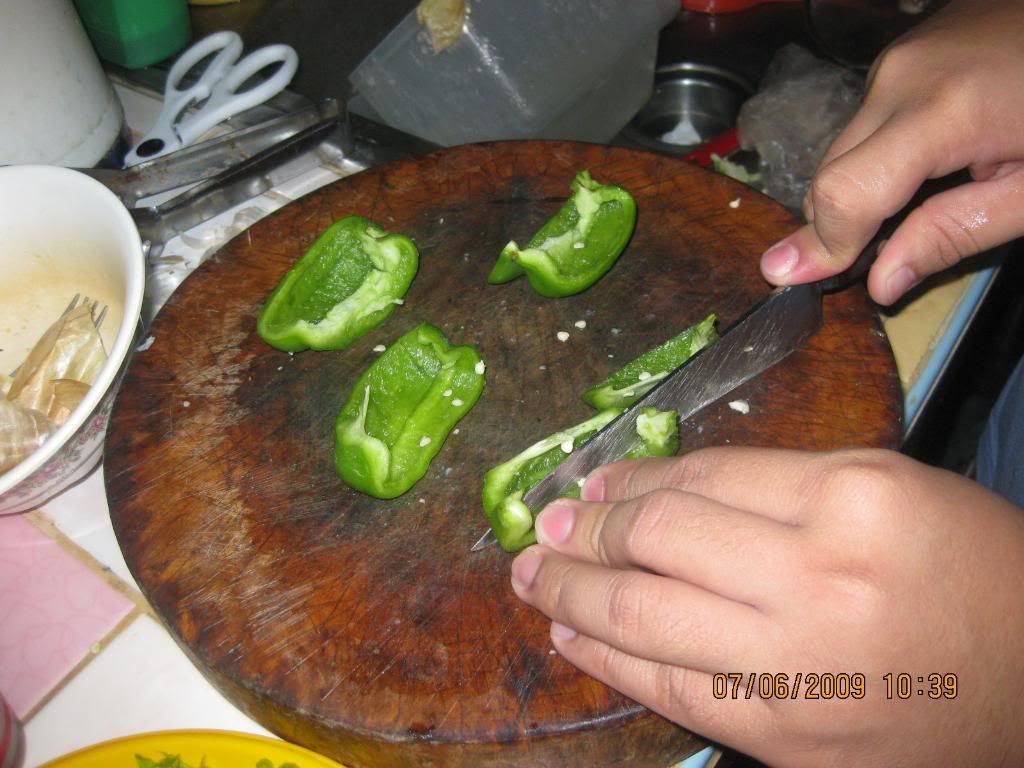
  • 1 medium red bell pepper (sorry, the bell pepper is not yet red and I can't see a ripe bell pepper), chopped
    Photobucket
  • 4 cloves of garlic
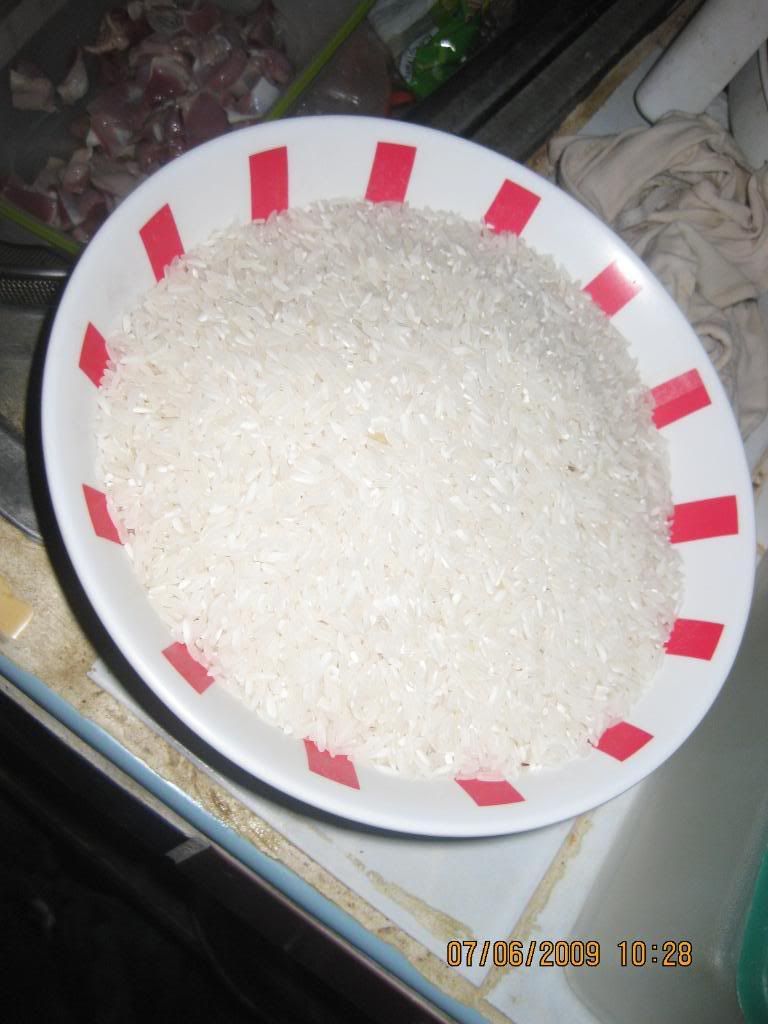
  • 1kg. of rice, uncooked
    Photobucket
  • 1.5L. of chicken stock
    Photobucket
  • 1/2 tsp. ground black pepper
  • 1/4 tsp. cayenne pepper
  • 1 tsp. salt

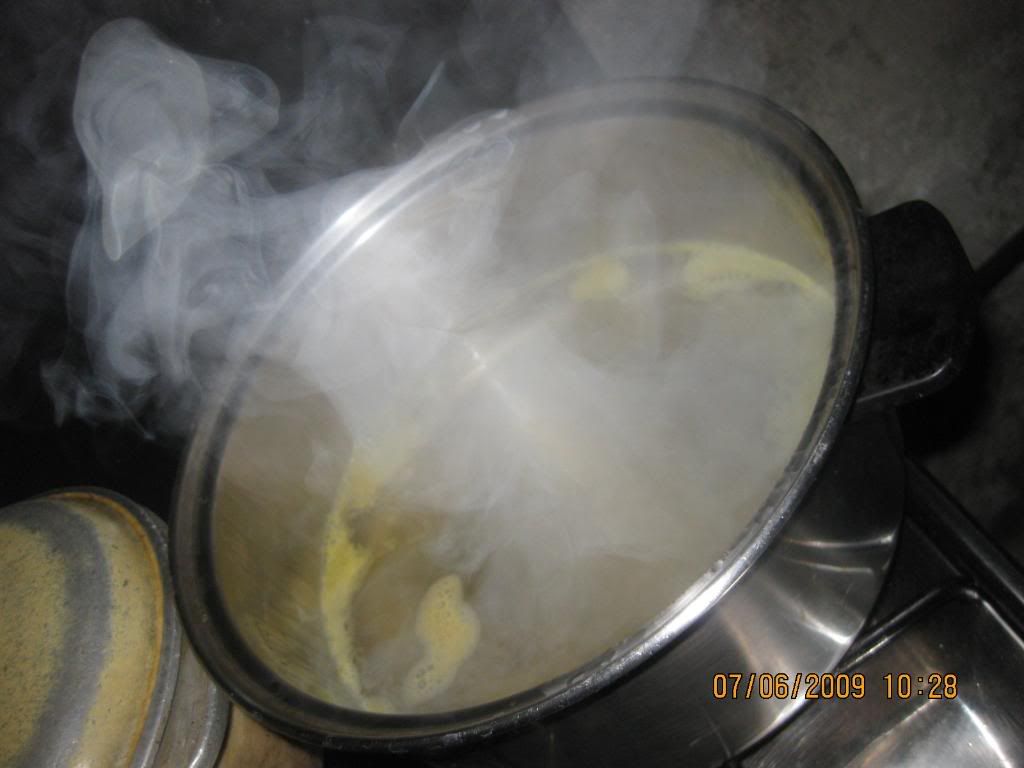
  1. Heat vegetable oil in a thick pot over medium heat.
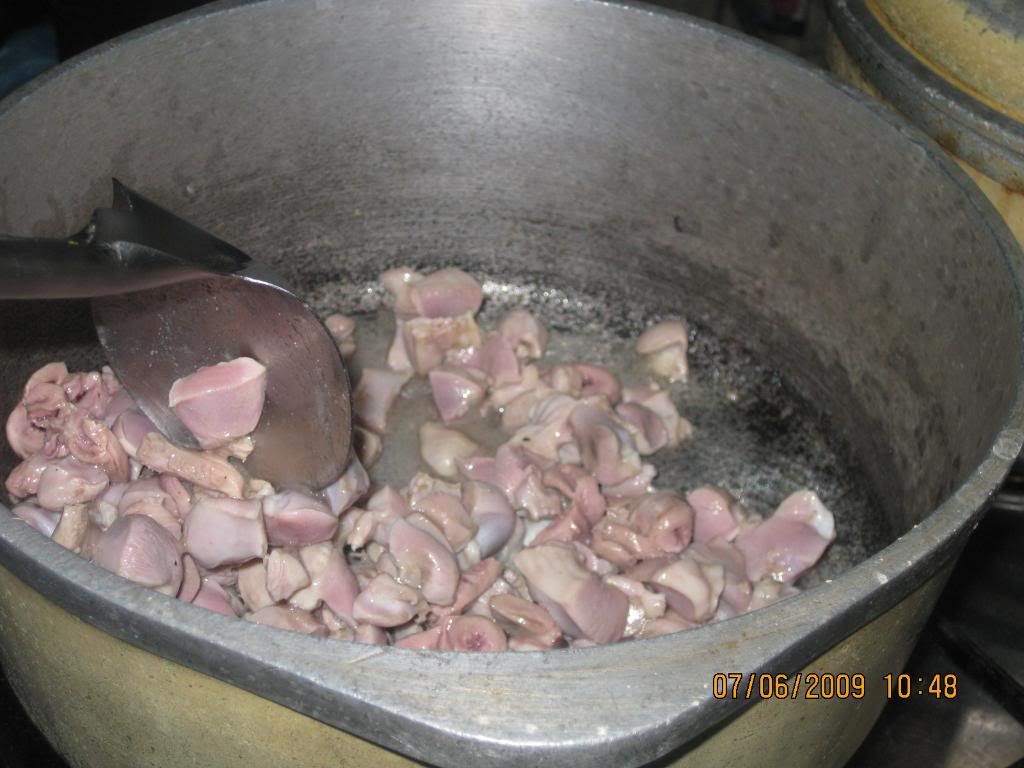
  2. Add the chicken gizzards. Cook until brown.
    Photobucket
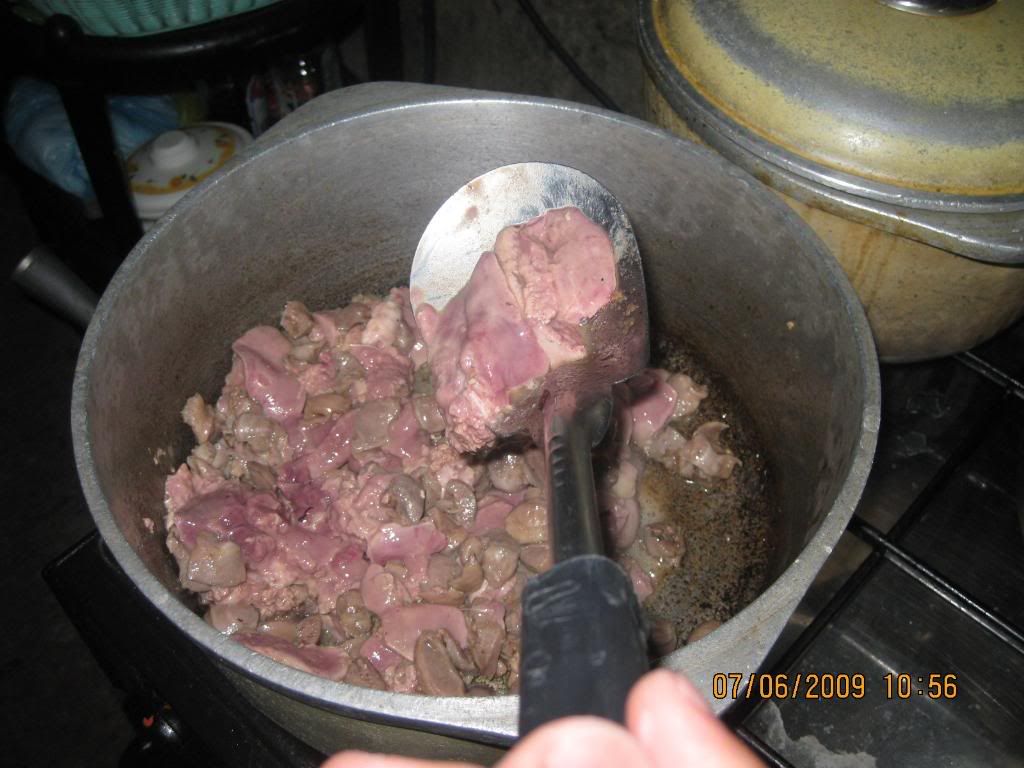
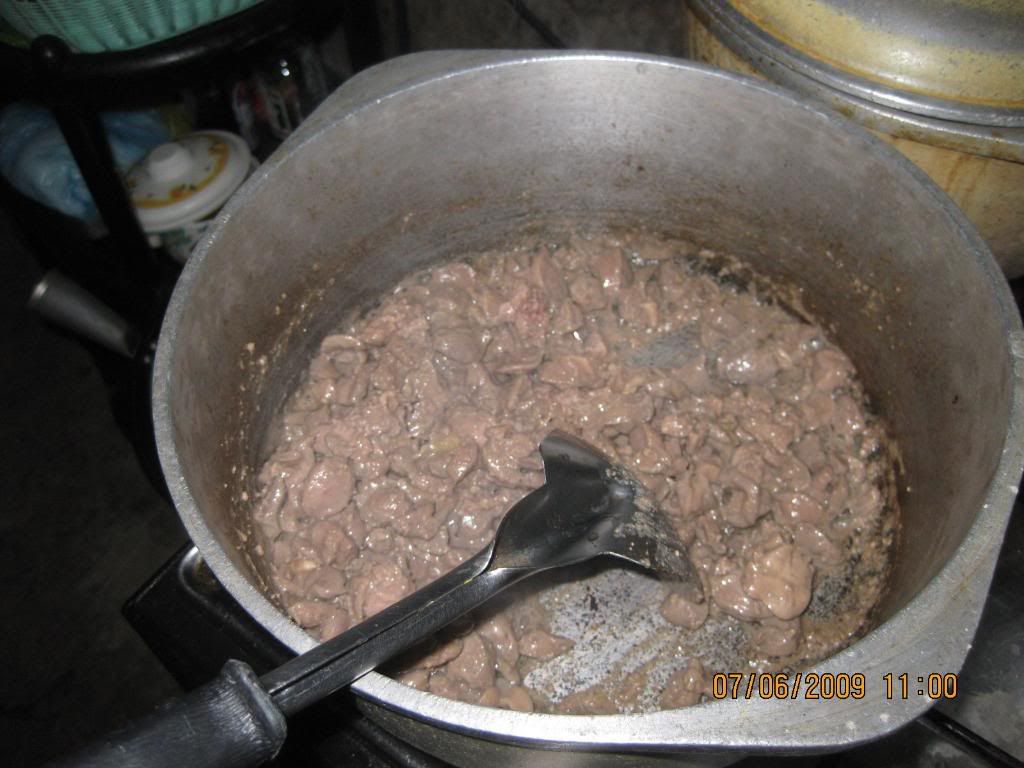
  3. Add the chicken livers. Cook until brown.
    Photobucket
    Photobucket
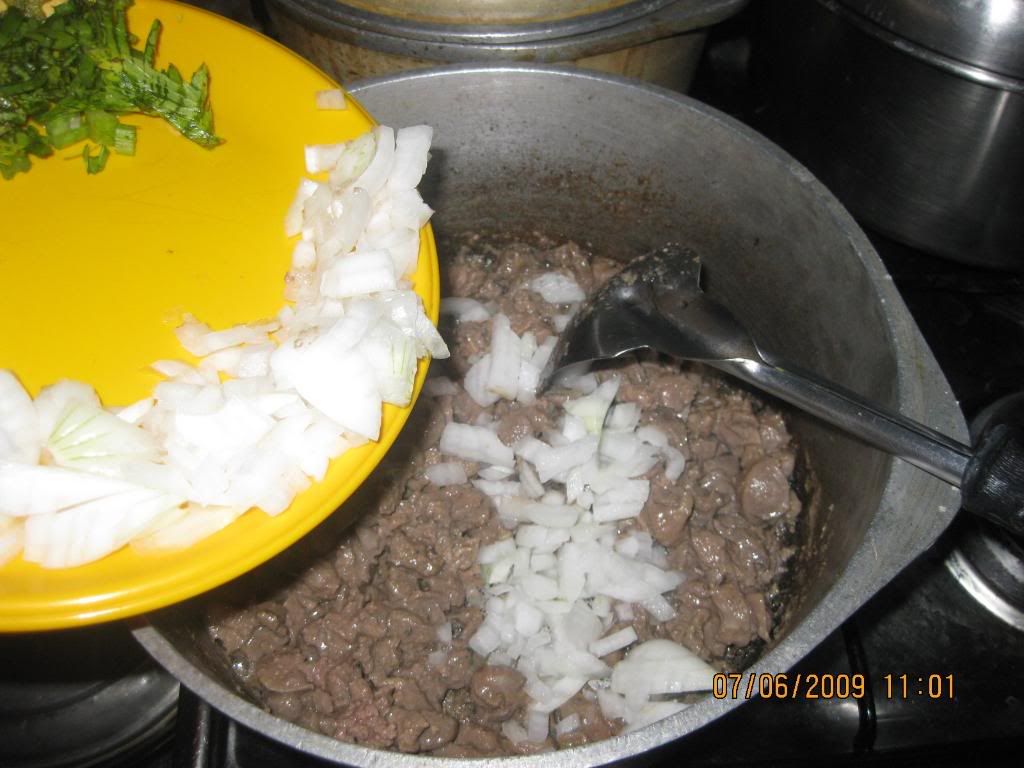
  4. Add in the onion until it becomes tender.
    Photobucket
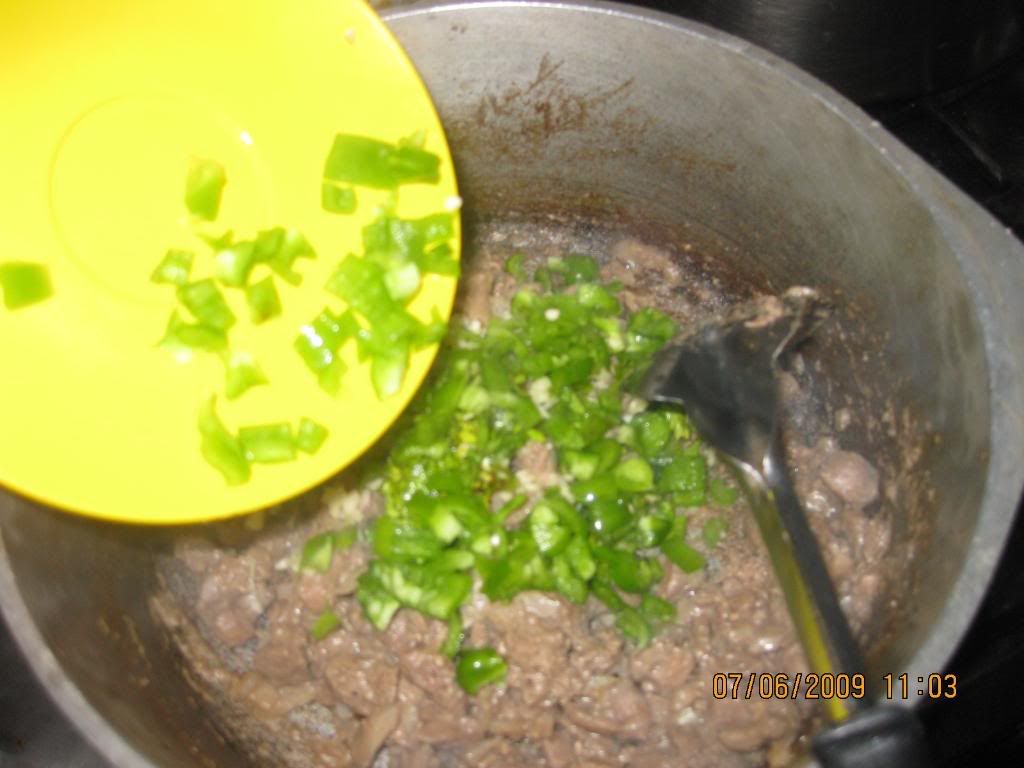
  5. Add the celery, garlic and red bell pepper and stir for 3 minutes.Liver will start to become grounded.
    Photobucket
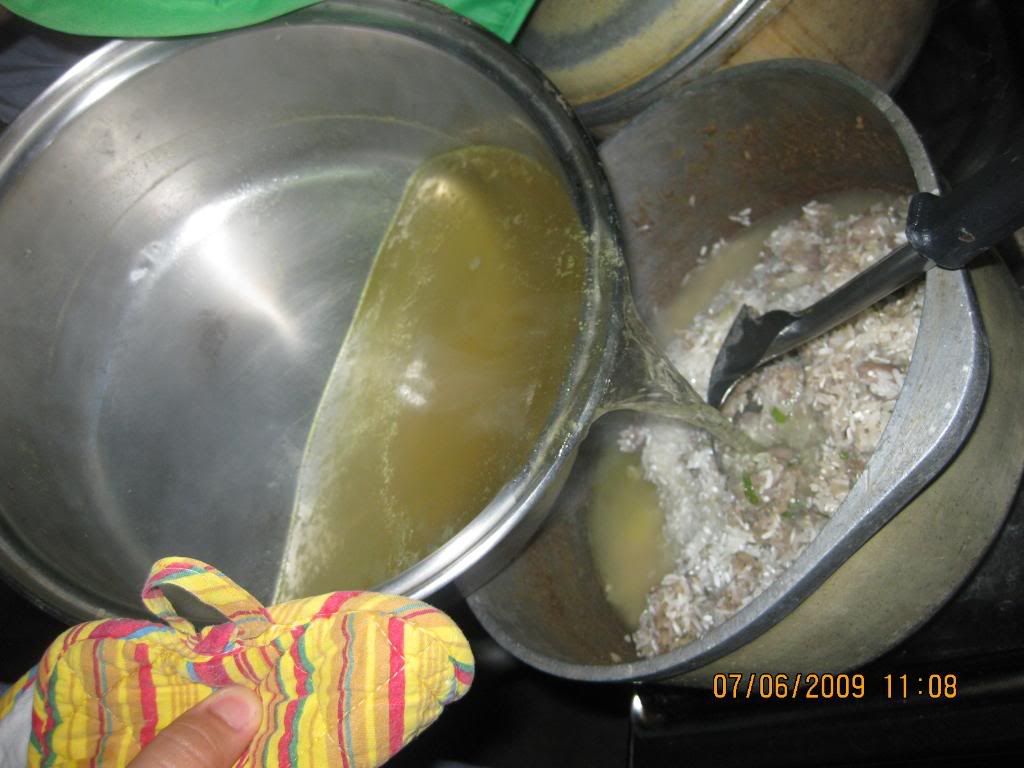
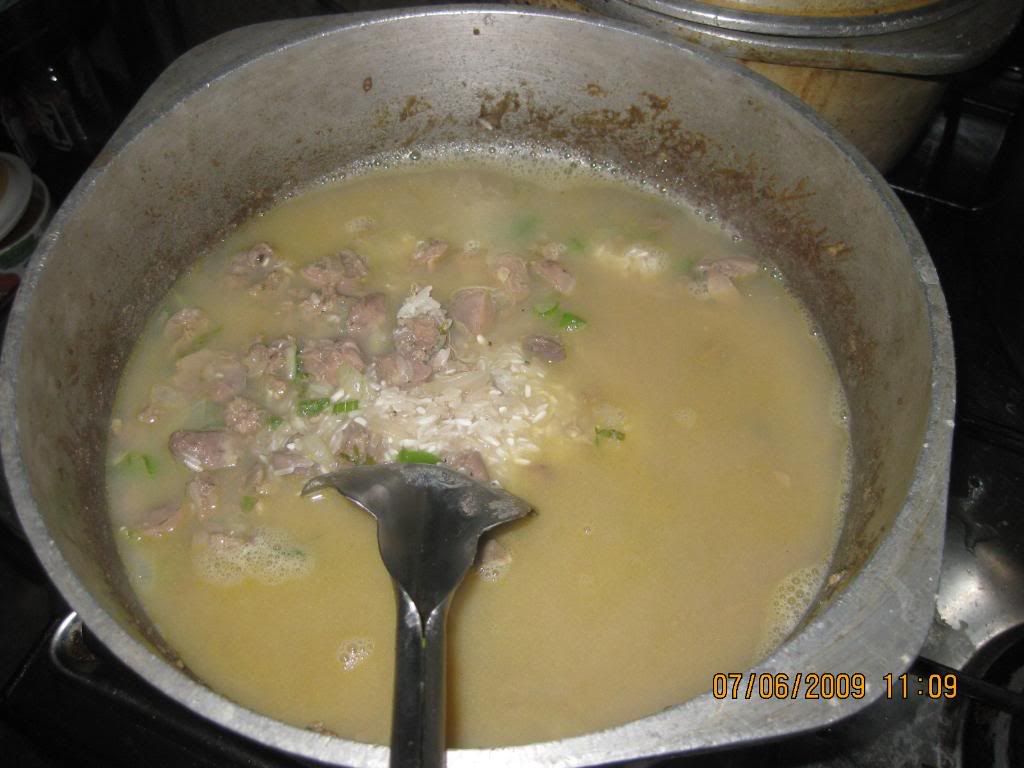
  6. Mix in the rice and add chicken stock.
    Photobucket
  7. Season it with salt, black and cayenne pepper.
    Photobucket
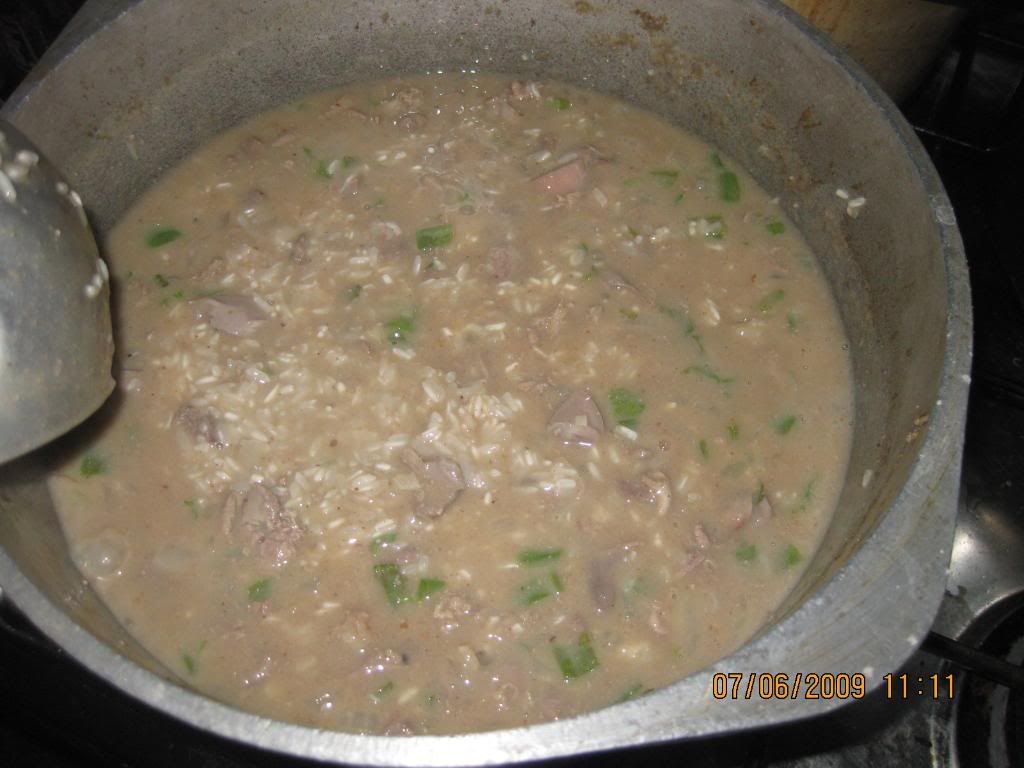
  8. Bring to boil over high heat while constantly stirring.
    Photobucket
  9. Lower the heat. Cover and simmer it for 20-30 minutes or until the rice becomes cooked.
  10. fluff them and transfer it to a large bowl. Let it rest for 10 minutes.
    Photobucket
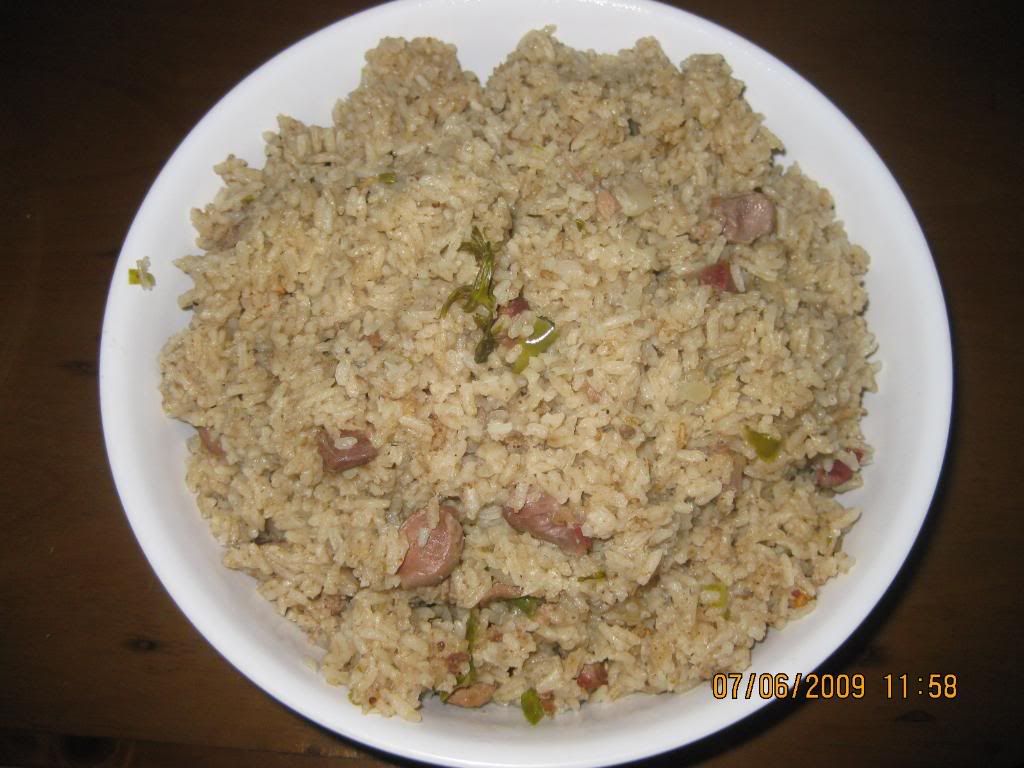
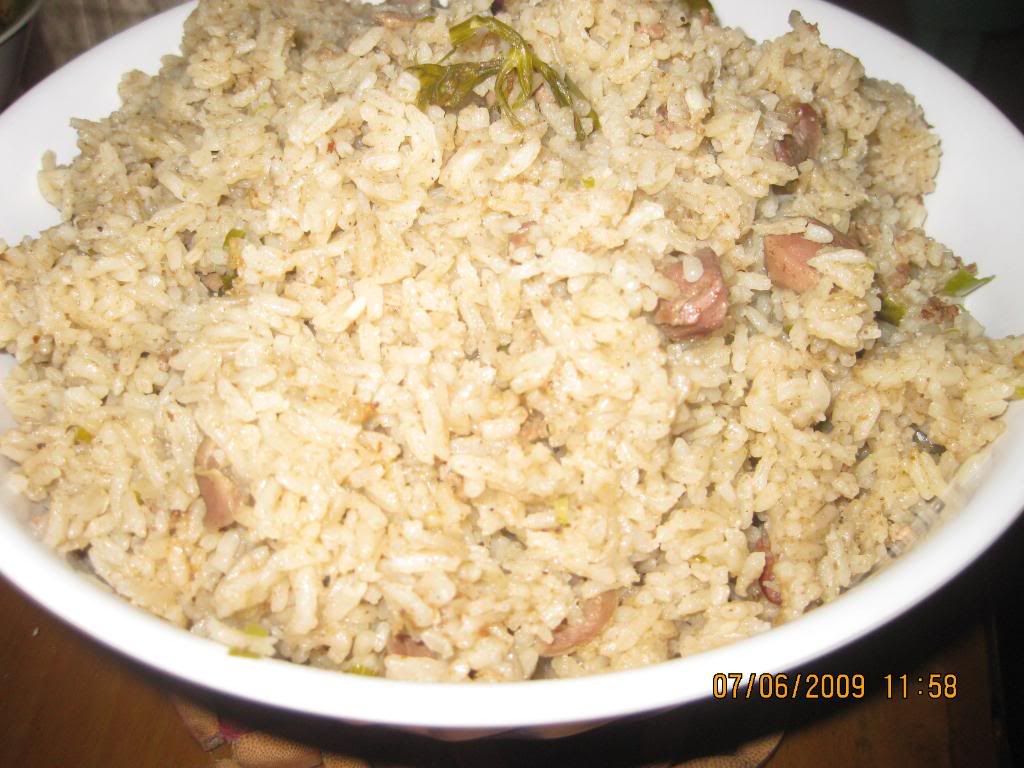
  11. Serve.
    Photobucket

Things I've considered:

I make sure that I know how to cook rice and how much water I need to cook it. But since our rice is not that hard to cook, I've deal with it through estimations. You can seek advise from experts regarding this if you don't know how to make an estimate.

Expenses(approximate since I didn't consumed all of the ingredients):

  • vegetable oil (just got them from our kitchen consumed 2 tbsp. of it at around 30mL for Php3.00)
  • 334g. of chicken gizzards (consumed all of it for Php31.06)
  • 426g. of chicken livers(consumed all of it for Php47.29)
  • 2 medium white onion(consumed 1 piece of it at around Php8.19)
  • celery (consumed 1 rib of it at around Php2.00)
  • 2 medium red bell pepper (consumed 1 piece of it at around Php14.19)
  • 4 cloves of garlic (just got them from our kitchen but it costs at around Php3.00)
  • 1kg. of rice, uncooked (just got them from our kitchen but it costs Php36.00)
  • 3pcs. of chicken cubes for stock (just bought from our local sari-sari store for Php5.00 each)
  • 1/2 tsp. ground black pepper (just got them from our kitchen but it's around Php0.50)
  • 1/4 tsp. cayenne pepper (consumed 1/4 tsp. of it at around Php2.00)
  • 1 tsp. salt (just got them from our kitchen but it's around Php1.00)

Total Estimated Price for all the consumed ingredients:

Php161.25

Actual Expense:

  • vegetable oil (just got them from our kitchen)
  • 334g. of chicken gizzards (Php31.06)
  • 426g. of chicken livers(Php47.29)
  • 2 medium white onion(Php16.38)
  • celery (Php8.74)
  • 2 medium red bell pepper (Php28.38)
  • 4 cloves of garlic (just got them from our kitchen)
  • 1kg. of rice, uncooked (just got them from our kitchen)
  • 3pcs. of chicken cubes for stock (Php15.00)
  • 1/2 tsp. ground black pepper (just got them from our kitchen)
  • 1/4 tsp. cayenne pepper (Php41.75)
  • 1 tsp. salt (just got them from our kitchen)

Total Actual Price:

Php188.6

Ok. You now have all the details for this recipe. Why don't you try this recipe at your own home. Also, don't forget to visit the original author of this recipe, Michael Chu, from this site. Thanks Michael! :)